The Secret to Glass That Doesn’t Shatter
Ever had a piece of glass jewelry or a lab flask just… explode? No warning, no drop, just a sudden crash. Usually, it’s because of internal stress. The trick is hitting the annealing point. It’s that sweet spot where the glass relaxes, but doesn’t actually melt. It’s a tightrope walk. Go a few degrees too high, and your piece starts to sag. Stay a bit too low, and you’ve left behind a “memory” of tension that’ll eventually turn your hard work into shards.
Why we obsess over 0.1°C
Most heaters are too jumpy. They swing by 2°C or 5°C, which sounds small, but for thin-walled glass, it’s a disaster. It creates these tiny thermal gradients—basically, some parts are fighting other parts. That’s why we use infrared components that stay stable within 0.1°C. It stops the fluctuation. When the whole piece reaches equilibrium, it stays that way. No surprises when you start machining or cooling it down.
Getting the heat where it belongs
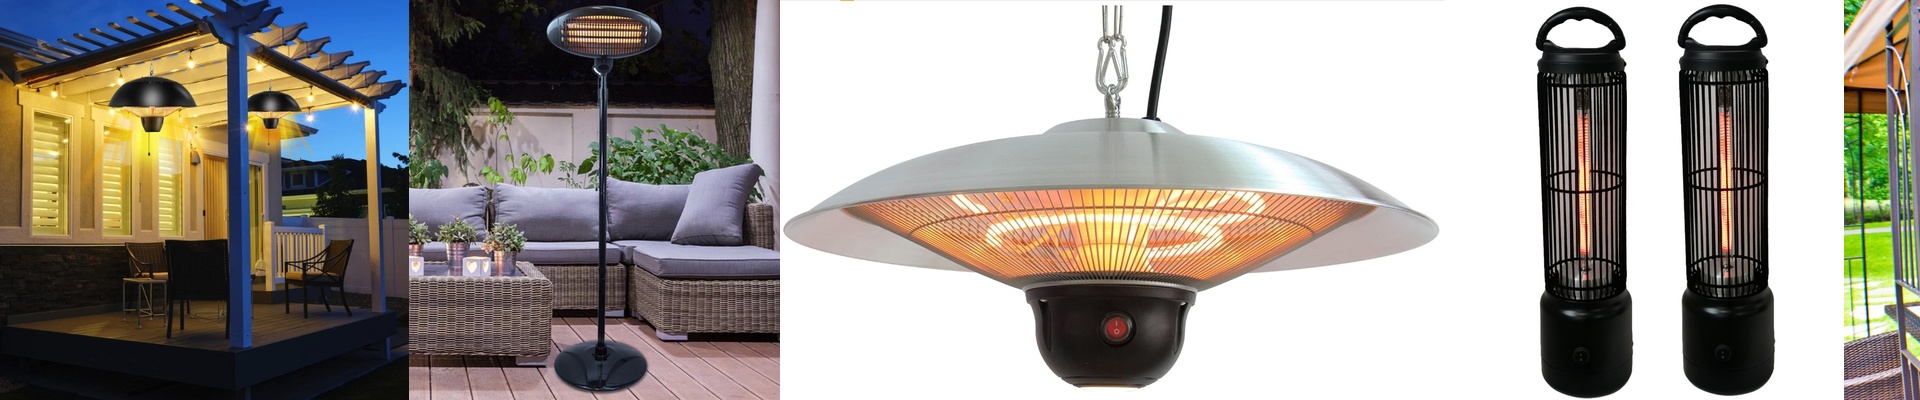
We go with short-wave infrared emitters. Why? Because they actually soak into the glass. Convection heat just hits the surface, but short-wave IR gets deep into the core. But you have to be careful with power density. High-wattage lamps get you up to temp fast, but if your lamp isn’t perfectly centered, you’ll get “hot spots.” To keep things under control, we pair the lamps with a PID controller and a really sharp thermocouple. It keeps the whole system in a tight loop.
The hidden costs of precision
Here’s the thing: getting that 0.1°C precision isn’t just “plug and play.” You need a high-end power supply. If your shop’s electricity is “noisy,” you’re going to see that noise in your temperature readings. It’s frustrating. Plus, you’ll need a cooling jacket for the lamp housing. If the chassis around the lamp starts to drift and heat up, it messes with your sensors. It’s a bit of extra gear, but it’s the only way to make sure your readings are actually real.