
Keeping Your Outdoor Heaters Running Without the Headache
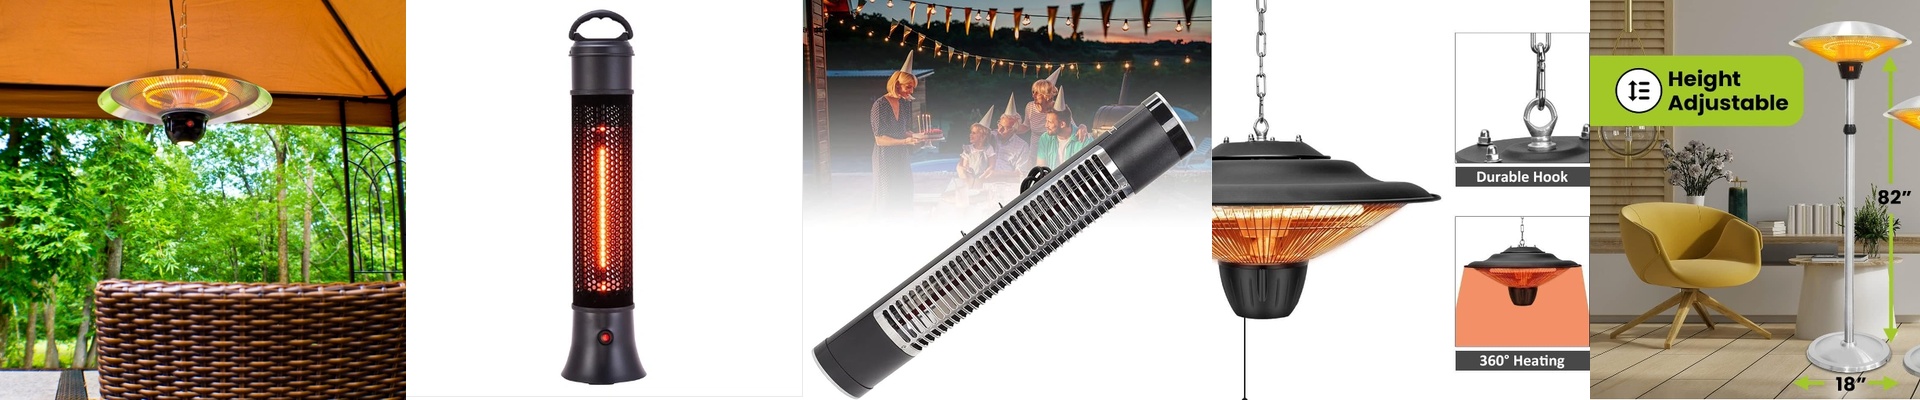
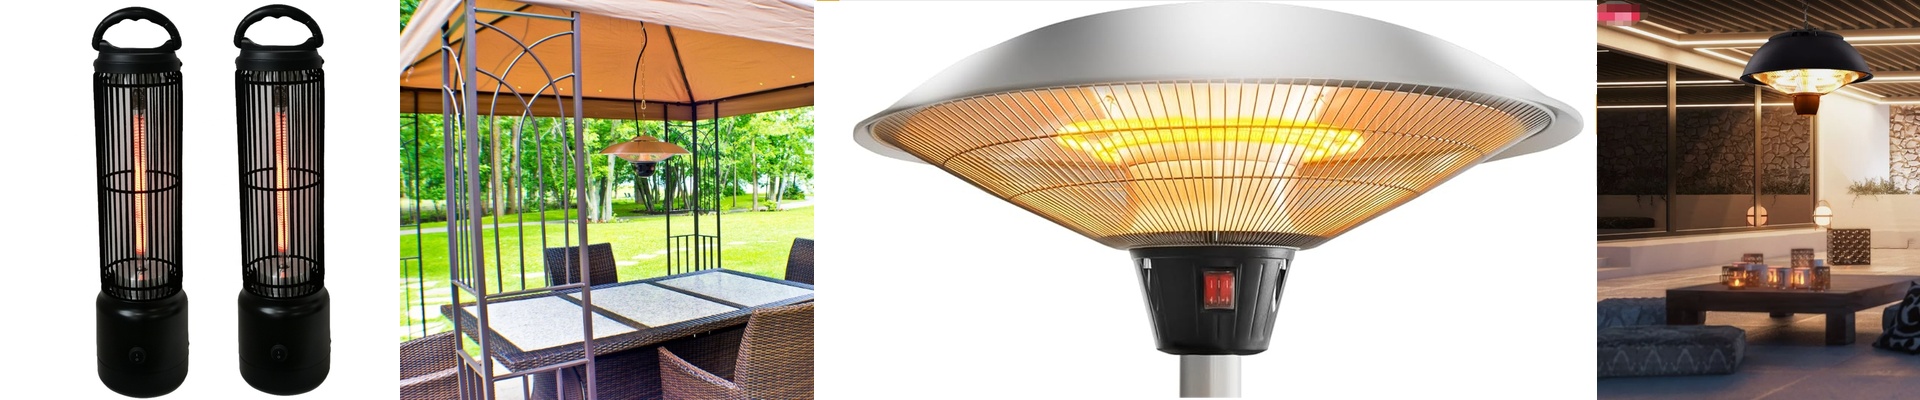
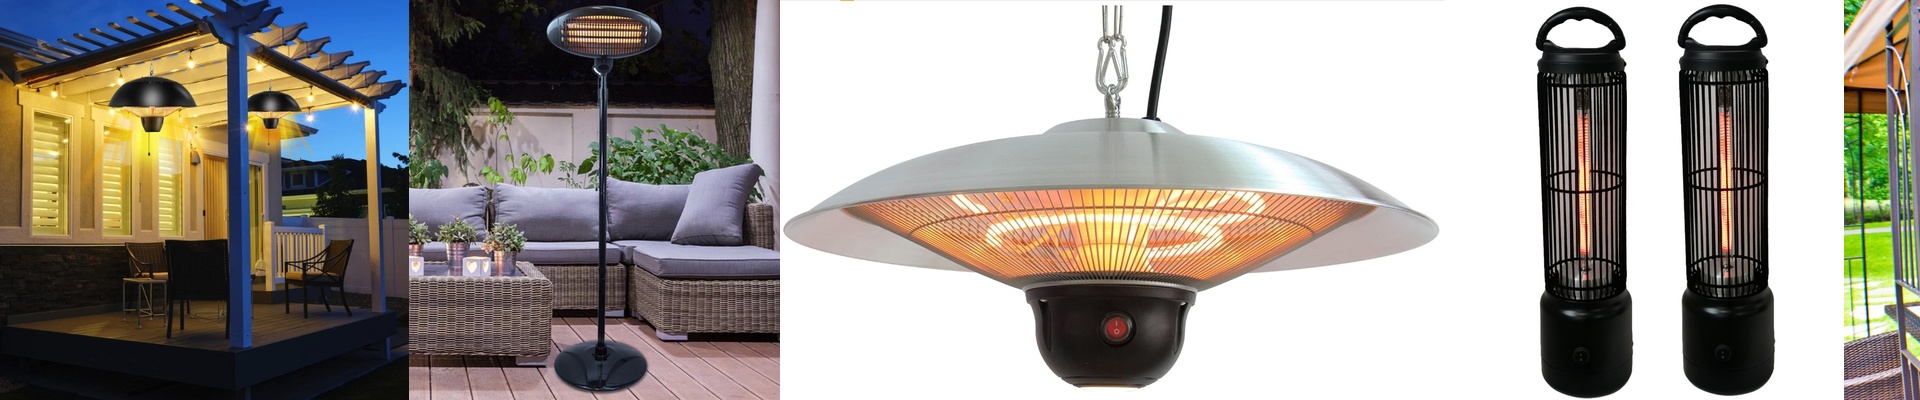
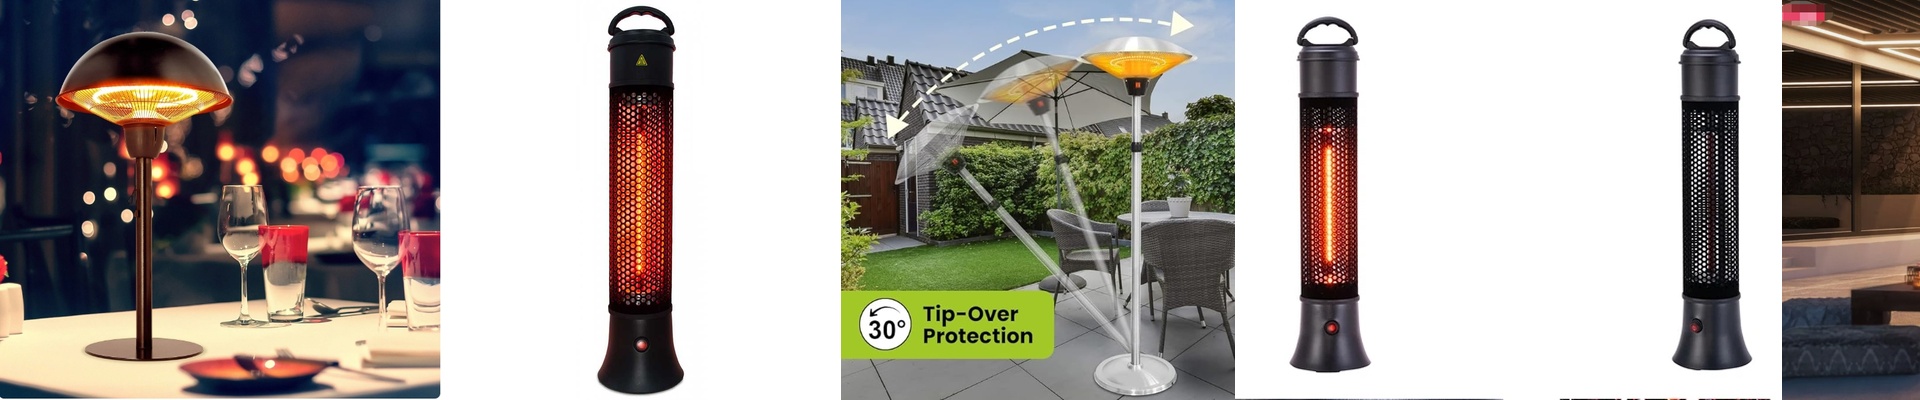
Let’s be honest: outdoor heaters live a rough life. They’re constantly fighting off rain, wind, and dust. We build ours to IP65 standards to keep the guts of the machine dry, but there’s a catch. Usually, when you seal something that tightly, it becomes a total nightmare to fix. Nobody wants to throw away a perfectly good chassis just because a heating element finally gave up after five winters. And nobody wants to spend a whole afternoon fighting with stubborn fasteners just to swap one part. The “Cassette” Secret We decided to do things differently. Instead of soldering the heating elements directly into the main board, we put the tubes into their own independent cassettes. Think of it like a cartridge. If a tube burns out, you just pull the module out. You don’t have to tear apart the weather shielding or mess with the main electronics seal. It turns a stressful repair into a simple swap. Slide the old one out, snap the new one in, and you’re done. What used to take hours now takes a few minutes. Heat and Wear We use shortwave infrared tubes because they hit you with heat instantly—perfect for when you’re sitting outside in the cold. But that kind of heat is intense. It puts a lot of stress on the connection points. To stop them from wearing out, we use reinforced connectors. That way, you can swap tubes over and over without the electrical terminals getting flimsy or loose. A Quick Tip from the Field Even with the easy swap, there’s one thing you can’t ignore: the gasket. If that seal gets pinched or twisted when you close the chassis, moisture is going to find its way in. And once water hits the power supply, you’ve got a problem. Just take a second to glance at the gasket and make sure it’s sitting flush every time you service the unit. It’s a ten-second check that saves you from a massive short circuit.