
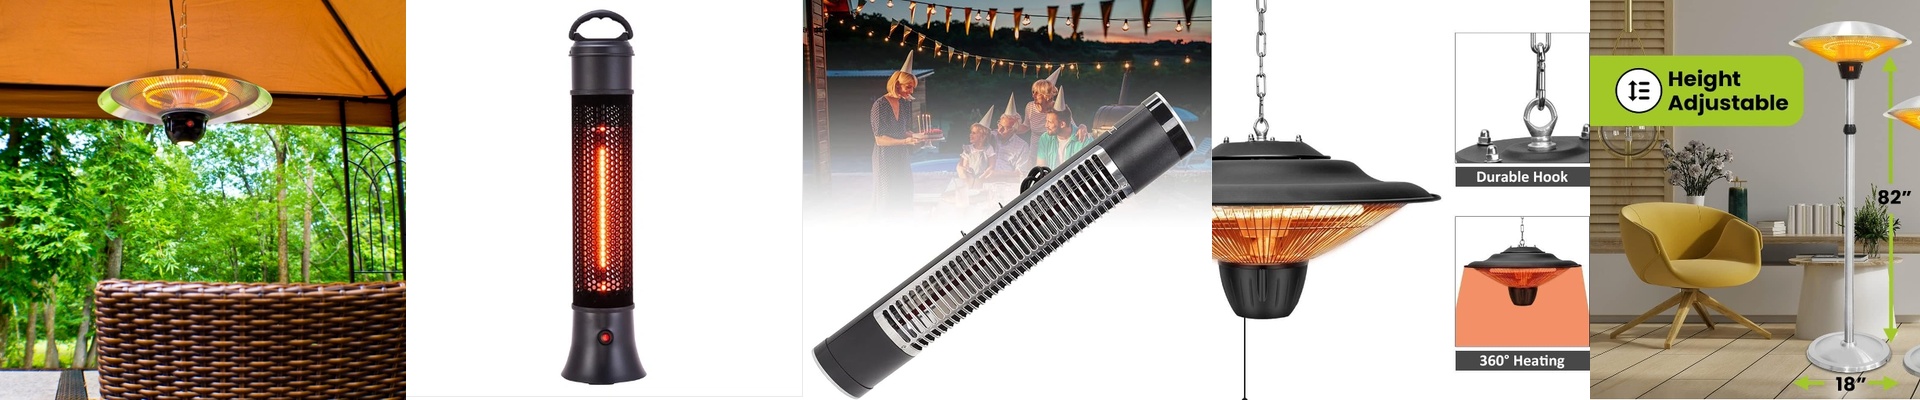
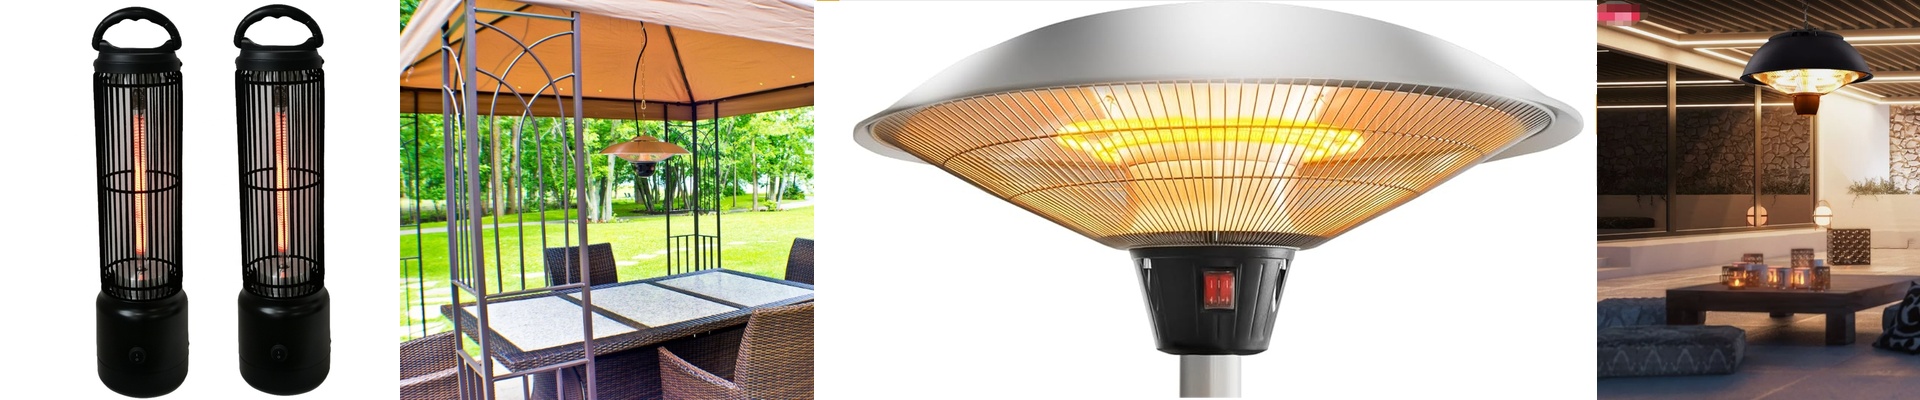

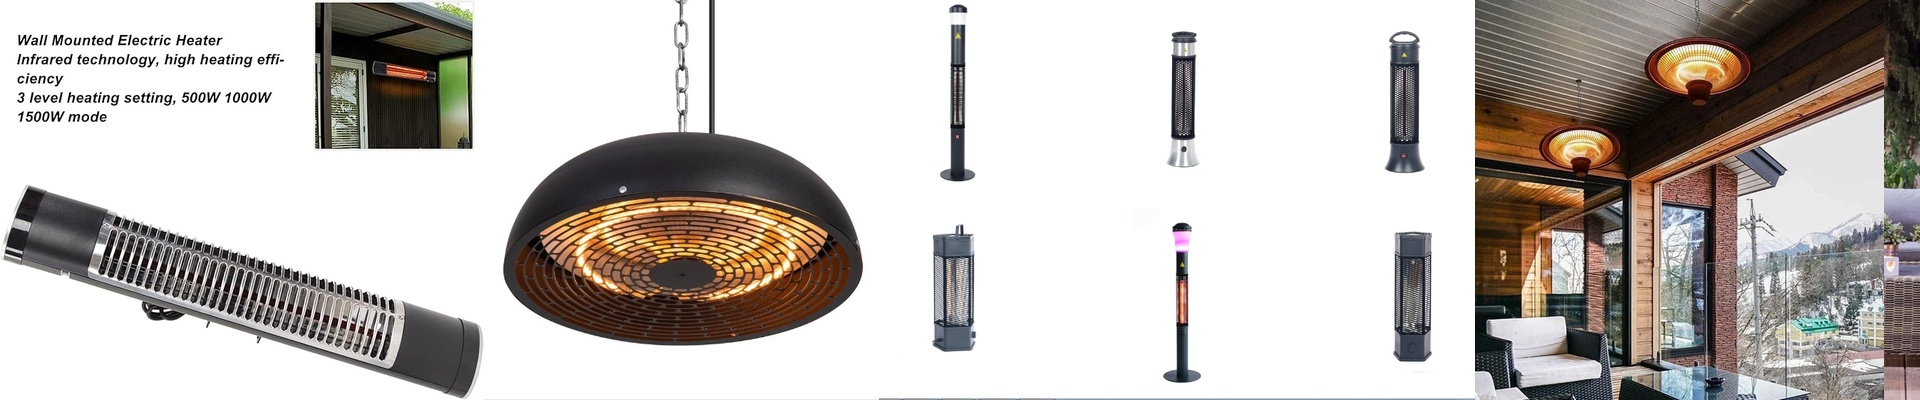
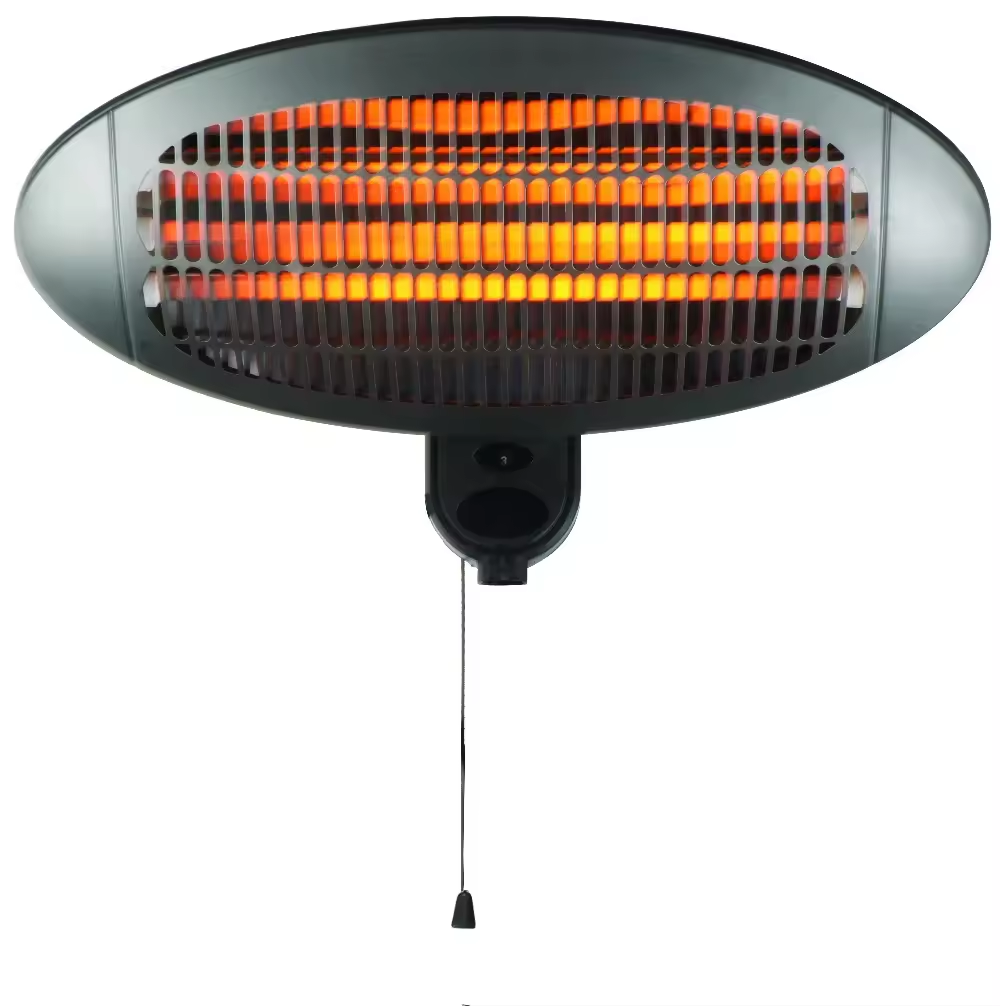
Cold attics are more than just uncomfortable. They breed damp spots, drag out weekend projects, and make the whole house feel off. An attic space heater can fix that, but only if the warmth lands where you actually need it. With infrared, placement is everything—it’s the line between a useful glow and a flat, useless patch.
What matters, technically
Infrared attic heaters deliver radiant heat. They warm people and surfaces directly instead of pushing air around. Most models use a carbon fiber element or a quartz tube to produce medium-wave infrared warmth, which feels natural and comes on fast. You’ll usually see units that run on standard 120V or 240V circuits, with output typically between 1,500W and 3,000W. For attic use, a built-in thermostat helps keep comfort steady. And the safety basics—tip-over protection and overheat protection—keep day-to-day operation solid.
Why this works in an attic
In an attic, height and angle make the heater efficient and comfortable. Mount the unit high, but don’t jam it right against the peak. Aim for a mounting height around 6 to 8 feet above the floor, then angle the heater down roughly 15 to 25 degrees. That angle lets the infrared warmth spread across the work area or storage zone without dumping heat into the ceiling first. You get faster warmth where you stand, fewer cold corners, and a drier space that fights condensation. Because radiant heat isn’t battling endless air leaks, comfort feels more stable, and the heater doesn’t have to run constantly.
The things you really need to know
Infrared heats what it touches, so drafts and open attic vents can still undercut comfort. Pair the heater with some basic air sealing and you’ll feel the difference. Also, check local electrical codes and the unit’s IP rating before you install near insulation or in damp spots. Most attic infrared heaters are plug-in, but if you go with a hardwired model, plan the circuit and leave real access for maintenance. Service clearance matters as much as heat coverage.